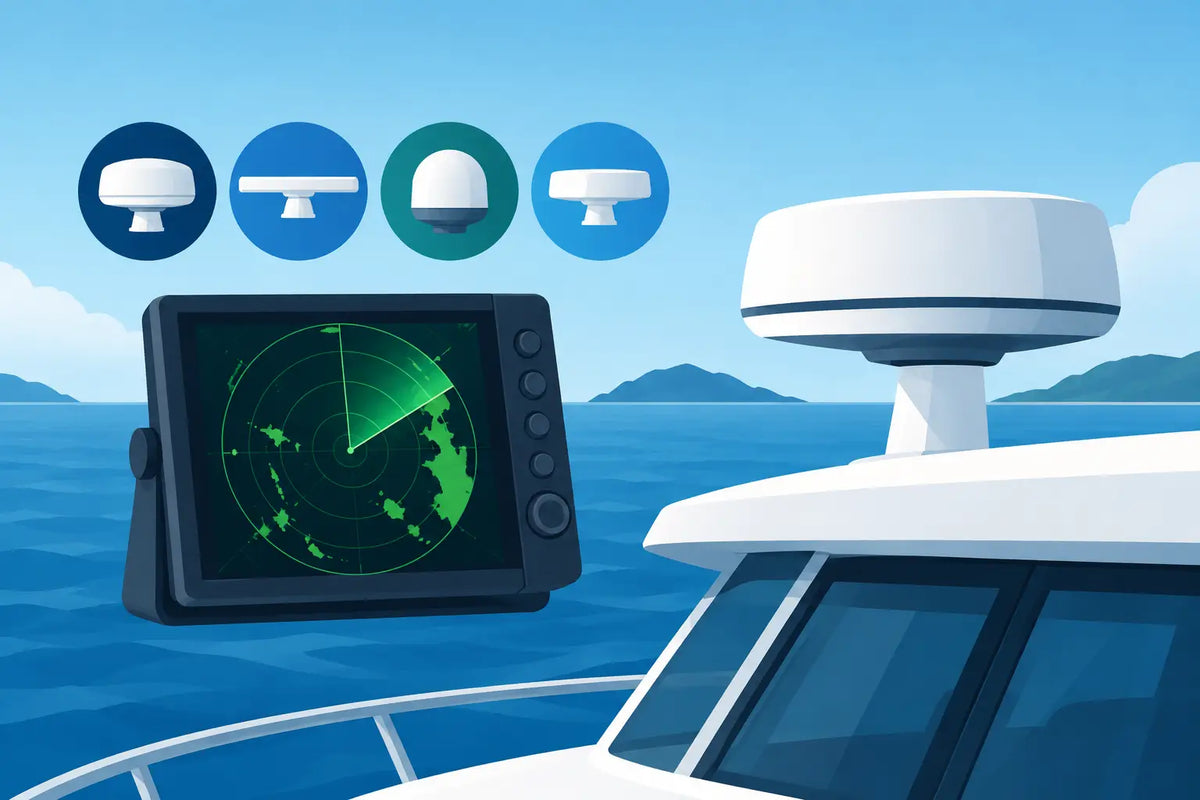
Marine Electronics Installation Guide for Boats
A chartplotter that shuts down when you crank the engine, a fish finder blurred by electrical noise, or a VHF radio mounted where no one can reach it quickly can turn a great day on the water into an unnecessary headache. This marine electronics installation guide helps you plan the job before a single hole is drilled, so the equipment you choose can deliver the confidence, convenience, and enjoyment it was designed to provide.
For some boat owners, installation is a satisfying weekend project. For others, especially when adding radar, networking several displays, or working around existing wiring, professional installation is the better value. The right choice depends on the boat, the equipment, your comfort with marine electrical work, and how much time you want to spend troubleshooting instead of boating.
Start With a Real-World Boating Plan
Marine electronics should match the way you use your boat, not simply fill every available space on the dash. A coastal cruiser may prioritize dependable charting, AIS awareness, VHF communication, and radar. An angler may place more value on a bright fish finder, a properly selected transducer, trolling motor integration, and waypoint sharing. A smaller pontoon or runabout may need a straightforward GPS display and a fixed-mount VHF for peace of mind.
Before ordering equipment, stand at the helm and consider what the operator must see and reach. Can you view the display without blocking gauges or your forward sightline? Will a passenger be able to use the VHF microphone in an emergency? Is the screen protected from direct spray, glare, and an open windshield? A larger display is often easier to read, particularly for boaters who prefer larger text and clear chart detail, but it still needs a secure location and room for wiring behind the panel.
It also helps to decide whether you want a standalone system or a connected one. Networked marine electronics can allow compatible displays, sonar modules, radar, engine data, and trolling motors to share information. That convenience comes with added planning. Confirm compatibility, network type, cable lengths, software requirements, and available ports before installation begins.
Marine Electronics Installation Guide: Build the Power Plan First
A reliable power supply is the foundation of dependable electronics. Sensitive devices need clean, correctly sized power from a protected circuit. Connecting a new chartplotter or fish finder to an overloaded accessory wire may seem convenient, but it can cause voltage drop, interference, nuisance resets, or damage over time.
Whenever practical, give major electronics their own properly protected circuit or connect them through a dedicated marine fuse block. Use the wire gauge specified in the manufacturer’s installation instructions, then account for the total cable run from the power source to the device and back. Longer runs may require heavier wire to prevent voltage loss.
Marine-grade tinned copper wire, heat-shrink crimp connectors, correctly sized fuses, and corrosion-resistant terminals are worth the investment. Ordinary household wire connectors and electrical tape do not hold up well against moisture, vibration, heat, and salt air. Keep fuses accessible and label both ends of every wire. Six months from now, clear labels can save hours of guesswork.
Route power cables away from high-current wiring where possible. Starter cables, alternator wiring, and some pump or trim circuits can introduce interference into sonar and communications equipment. If power and data or transducer cables must cross, have them cross at a right angle rather than running alongside each other for a long distance.
Do not assume the boat’s battery is healthy just because the engine starts. Modern multifunction displays, live sonar, radar, and other accessories may be sensitive to voltage changes. Check battery condition, charging performance, battery switch configuration, and grounding before blaming a new device for a shutdown or flickering screen.
Protect Connections From Water and Movement
Every wire run needs strain relief. Leave a modest service loop where appropriate, secure cables at regular intervals with marine-rated clamps or ties, and prevent wires from chafing on sharp fiberglass, aluminum, or metal edges. Use grommets when cables pass through a bulkhead or panel.
For exterior cable entries, use a suitable cable gland or clamshell fitting and marine sealant compatible with the surface. The objective is not simply to hide a hole. It is to keep water out while allowing the cable to move naturally with vibration and temperature changes. Avoid sealing a connector permanently inside a tight cavity where it cannot be inspected or serviced later.
Choose Mounting Locations That Work Underway
A display may look perfectly positioned at the dock but become difficult to read when the boat is running into afternoon chop. Sit at the helm, stand if you commonly drive while standing, and check sightlines in both positions. Confirm that the wheel, throttle, windshield frame, and passengers do not block the screen.
Flush mounting creates a clean, integrated appearance, but it requires confidence before cutting the panel. Measure the display template carefully, inspect behind the dash for supports and wiring, and verify that there is enough depth for connectors and bend radius. A bracket mount can be more forgiving, easier to adjust, and simpler to replace later. The trade-off is that it takes up more helm space and needs a solid mounting surface.
VHF radios deserve special attention. Mount the radio where the controls and microphone are easy to reach from the helm. Install the antenna as high as practical, away from obstructions and other antennas when possible. Antenna height, cable condition, connector quality, and proper installation all influence range. A powerful radio cannot make up for a poorly installed antenna system.
Transducer Placement Is a Performance Decision
For fish finders and sonar systems, the transducer location often matters as much as the display itself. Turbulent water, hull steps, strakes, rivets, trailers, and prop wash can interfere with readings, especially at speed. Follow the transducer manufacturer’s guidelines for your hull material and mounting style.
A transom-mounted transducer is common, accessible, and well suited to many boats. It is also exposed to impact and may lose a clean signal at higher speeds if positioned in aerated water. Through-hull and in-hull options can provide excellent performance on appropriate boats, but they require more planning and, in some cases, professional expertise. Drilling through the hull is not the place for guesswork.
Keep transducer cables separate from engine wiring and avoid cutting or splicing them unless the manufacturer specifically permits it. Extra cable should be coiled loosely, not wrapped tightly around a power cable. If you are installing advanced sonar or multiple transducers, confirm their spacing and operating frequencies so one system does not interfere with another.
Network Carefully, Then Test at the Dock
Modern boat electronics often communicate through marine networking systems. This can be a major advantage: your chartplotter may display engine data, GPS position, depth, heading, fuel information, or compatible accessory controls in one place. But networking is only helpful when the backbone is built correctly.
Follow the network manufacturer’s rules for terminators, power insertion, cable lengths, and approved connectors. Do not mix similar-looking connectors from different systems without confirming compatibility. Document the system as you build it, including the location of fuses, network tees, modules, and spare ports. That record is useful for future upgrades and for technicians who may service the boat later.
Before reinstalling panels and cleaning up the work area, test each function at the dock. Power up the displays, verify GPS reception, check that the VHF transmits and receives appropriately, confirm engine data if connected, and make sure the transducer reports depth in the water. Then test again with the engine running. This is when voltage problems and interference are most likely to appear.
A short on-water test is just as valuable. Watch sonar readings at different speeds, verify chart orientation and heading behavior, test waypoints, and learn the alarm settings before you truly need them. Update software when recommended by the manufacturer, but save current settings or take photos of key configuration screens first.
Know When Professional Installation Makes Sense
A careful do-it-yourself installation can be a rewarding way to understand your boat. Still, there is no advantage in forcing a complex project. Consider a qualified marine electronics installer when the job involves radar, autopilot steering components, through-hull transducers, battery-bank modifications, major rewiring, or troubleshooting persistent electrical noise.
Professional help can also be worthwhile for owners who want a clean, integrated helm and a documented system from the beginning. Ask whether the installer follows manufacturer specifications, uses marine-grade materials, tests the system under load, and explains the controls before handing the boat back. Equipment should be registered for warranty coverage, and you should retain manuals, receipts, wiring notes, and serial numbers.
Buying from an authorized dealer adds another layer of confidence. At Open Air Lifestyles, real customer support can help you sort through compatible equipment and installation considerations before your purchase, so you can spend less time second-guessing the system and more time Living Your Best Outdoor Life.
The best installation is not the one with the most screens or the most complicated network. It is the one that stays dependable, feels natural at the helm, and gives you clear information when the water, weather, or route asks you to make a good decision.